MYOG Tarp

A tarp – being essentially a rectangle of fabric with tie out points – is probably one of the simplest outdoor MYOG (Make Your Own Gear) projects you can attempt. But not all tarps are created equal, so here’s my version.
Design considerations
This is what I wanted from my tarp; if you want the same, maybe this design will suit you too. Either way, I hope the instructions are useful.

- Versatile pitching options – which suggests a rectangular shape, as opposed to one with a beak, or a hexagonal silhouette
- Cheap to make – you can buy a commercial tarp pretty cheaply. As the material cost approaches the cost of a shop-bought version, the appeal starts to fade
- Reliable – no excess seams to tear, or leak
- Not super-lightweight – this was intended for one-nighters in the Downs, not long backpacking trips, so I wasn’t too concerned about cutting down weight
All of these led to one key feature, which is that this tarp is made form just one width of fabric, in my case that’s a 1.5m wide piece of lightweight PU-coated ripstop nylon. This brings two key benefits:
No center seam that needs sealing or could drip water onto you while you sleep
It can be made with a couple of metres of fabric, as opposed to double that if I used 2 widths of fabric.
Materials
- Main fabric: 2.5m PU-coated ripstop nylon
- Reinforcement: heaver-wieight nylon or cordura
- Tie-outs: nylon webbing for the 8 main tie out points, plus lighter weight nylon ribbon for the 4 secondary points
- Plus you’ll need some guy-line and pegs.
Construction
All the photos below show the construction steps on a small piece of test fabric. I’d recommend you try all these steps on a test piece before you assemble the tarp on your full length of fabric.
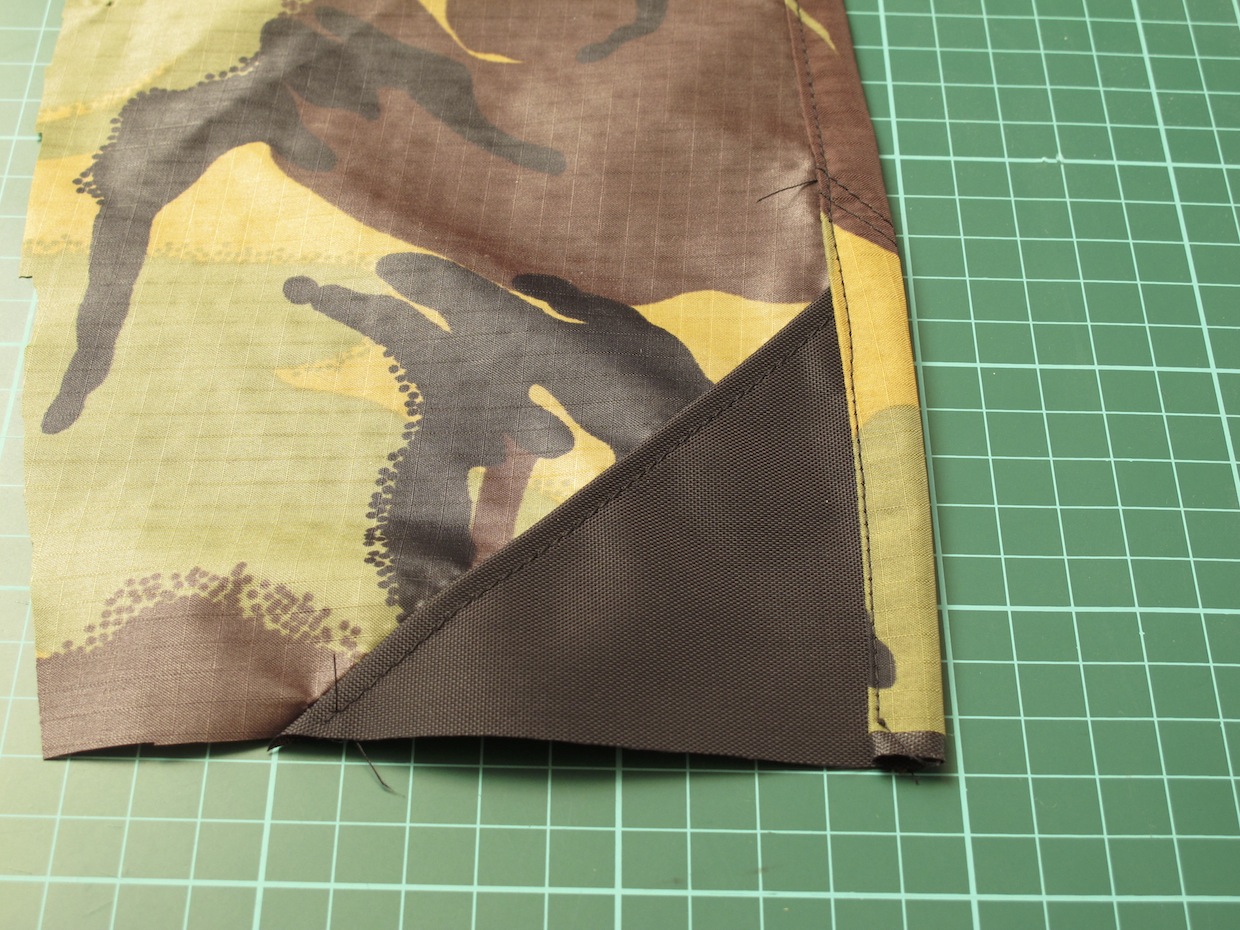
1. Attach corner reinforcements
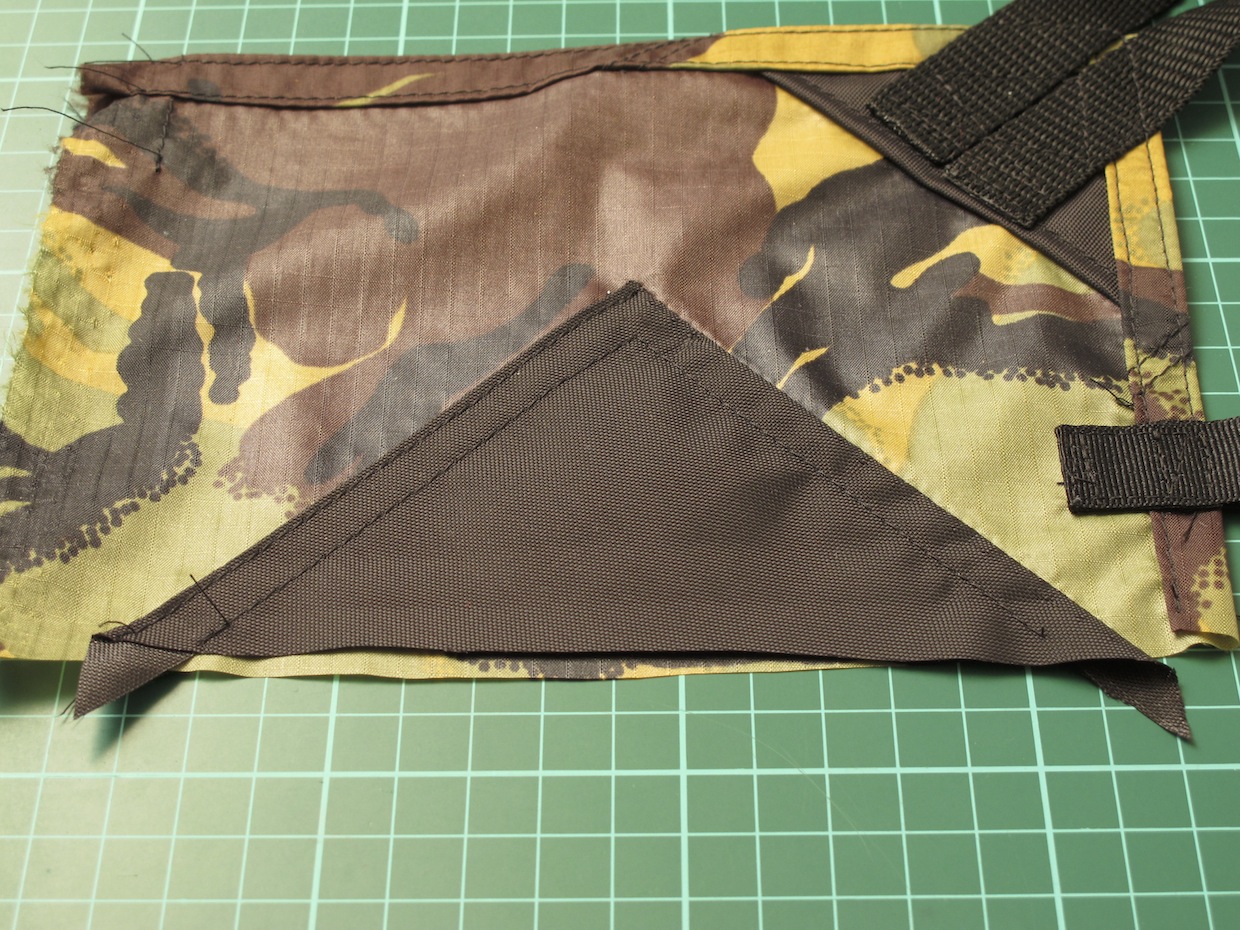
On my tarp, these are about 10cm on their shortest sides. Sew them on the diagonal first, right sides together, then fold the triangle over and topstitch down the diagonal edge to enclose the raw fabric. Leave the two short edges raw until you have sewn on all the reinforcement patches.
2. Attach mid-point reinforcements
On the midpoints, the diagonal side of the triangle patch will be against the outer edge of the tarp. Place the triangle where you want it to end up on the edge of the main fabric.
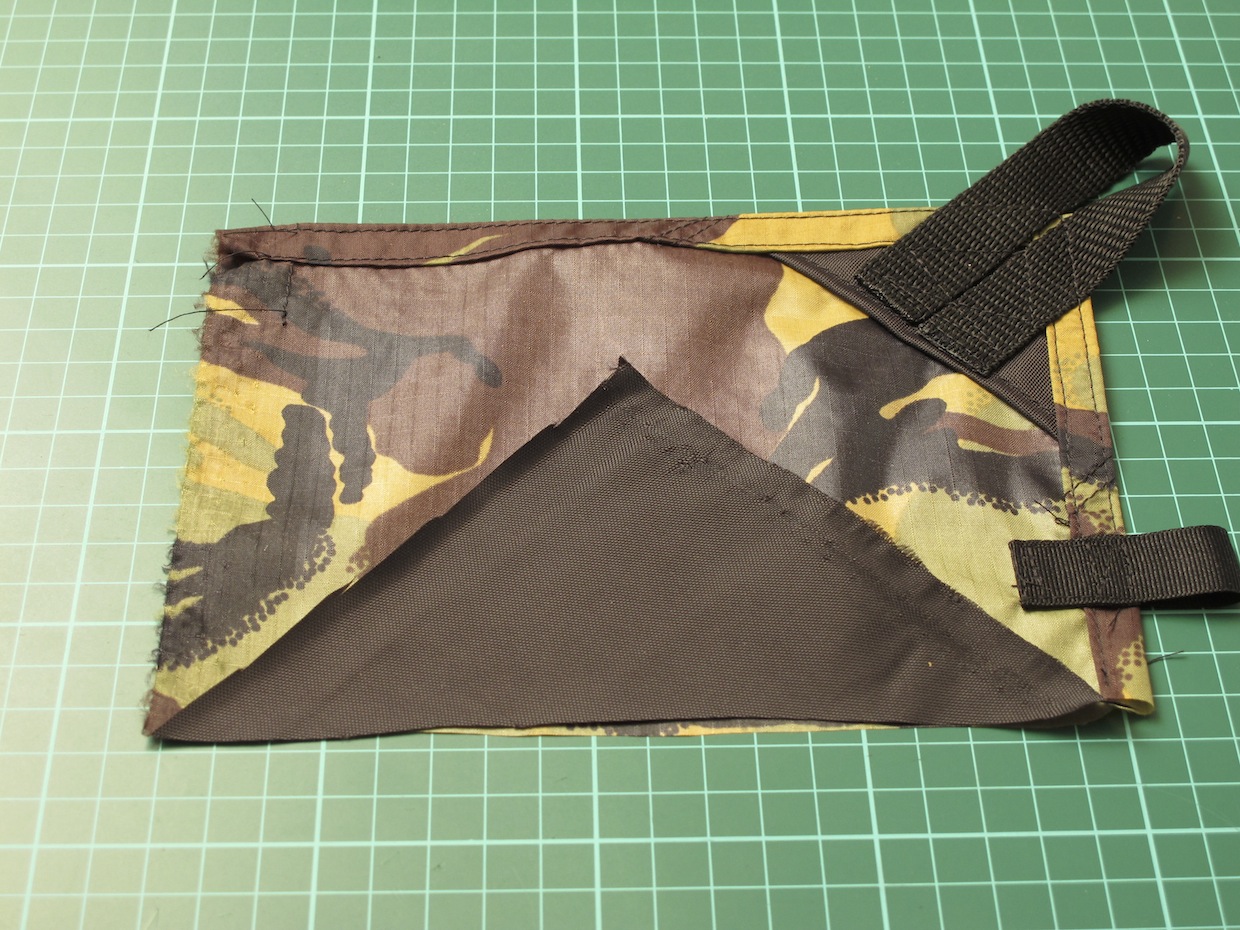
Then flip it over along one of the short sides and pin it in place along this short edge. Top-stitch about 5mm in from the this short edge.
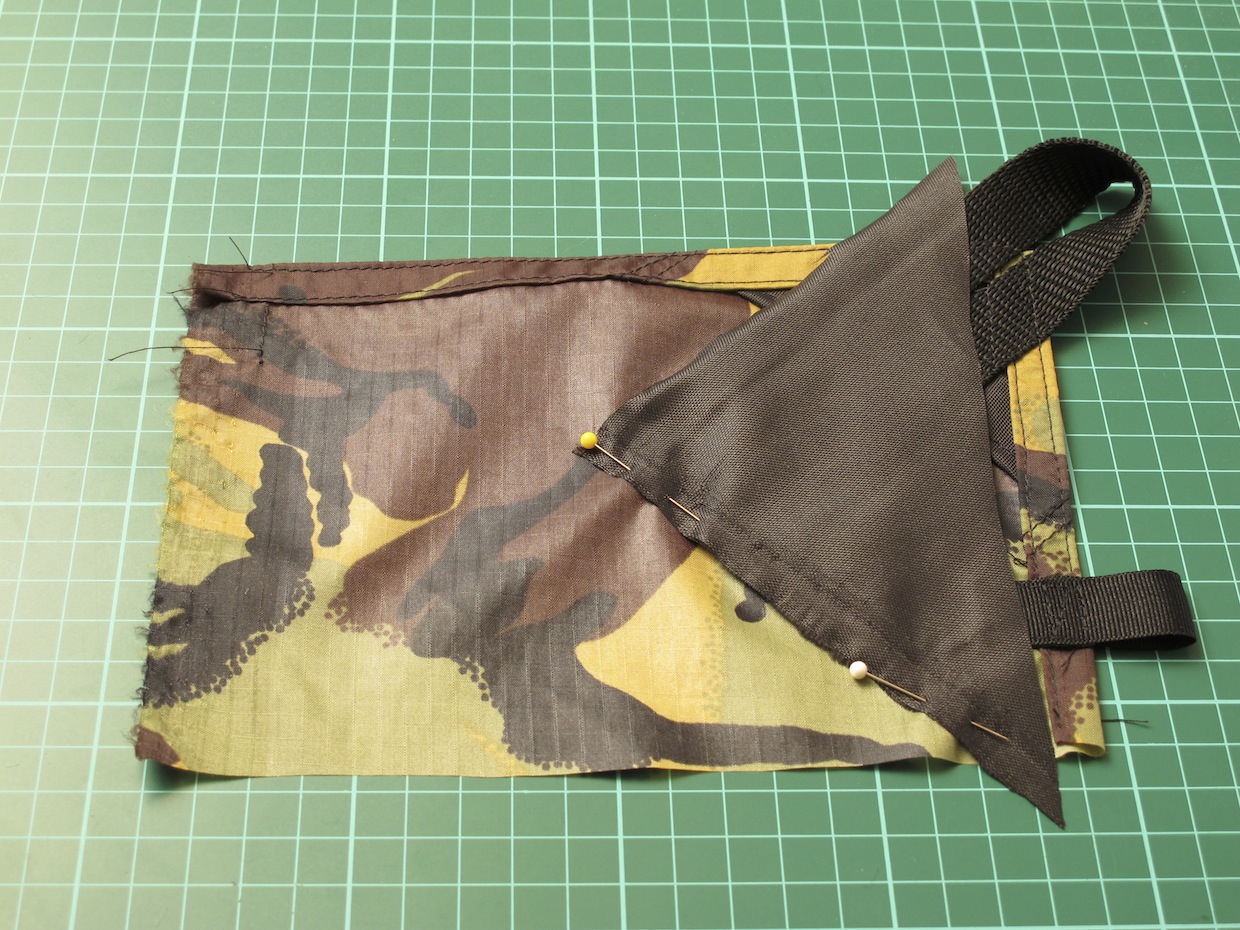
Fold it over the stitched edge, and tuck the other short edge under itself to make a 5mm hem on that side. Secure with a pin and top-stitch along that edge.
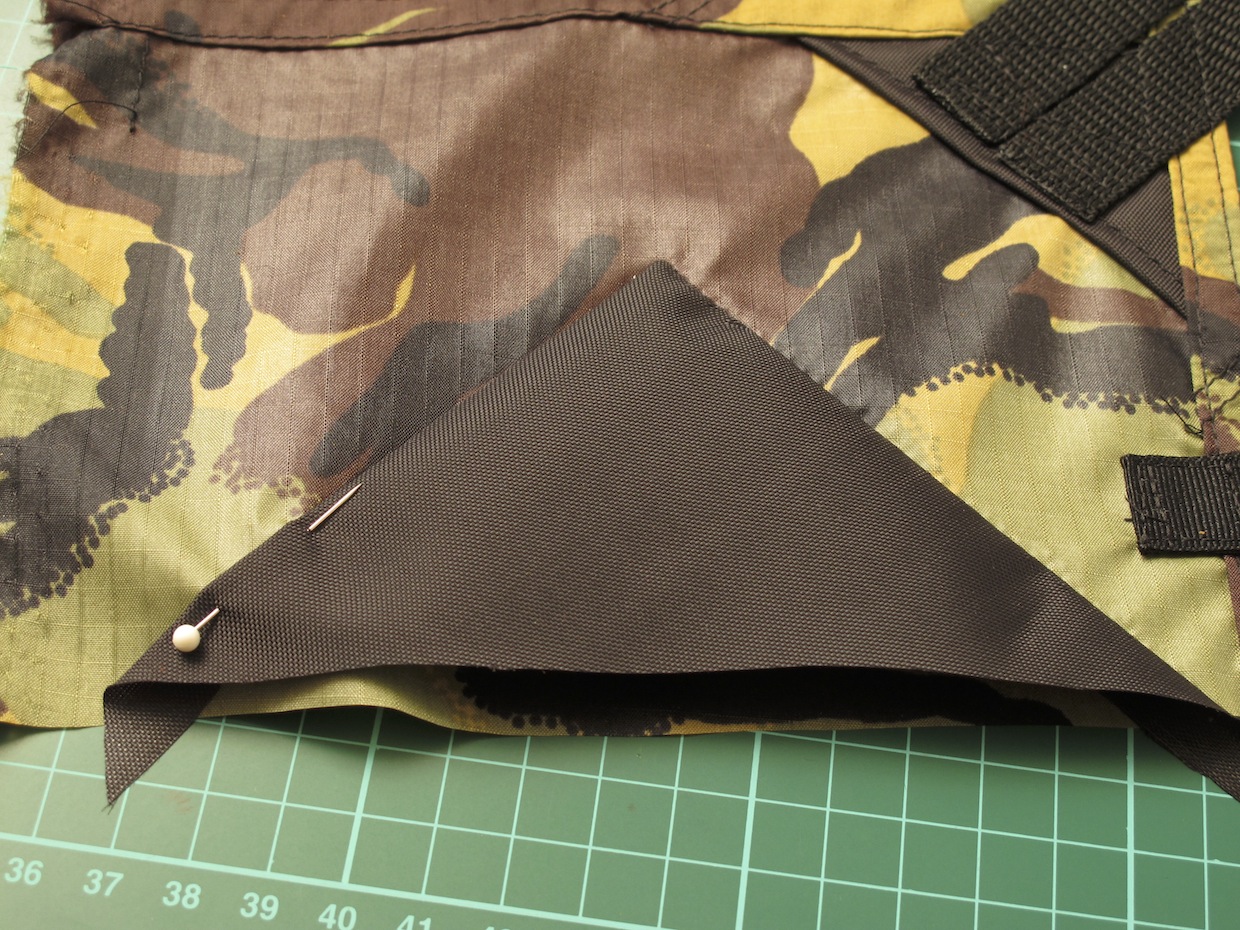
Add another line of stitching about 1cm in, along bothe of the short edge. Leave the diagonal raw.
3. Hem around the whole outer edge
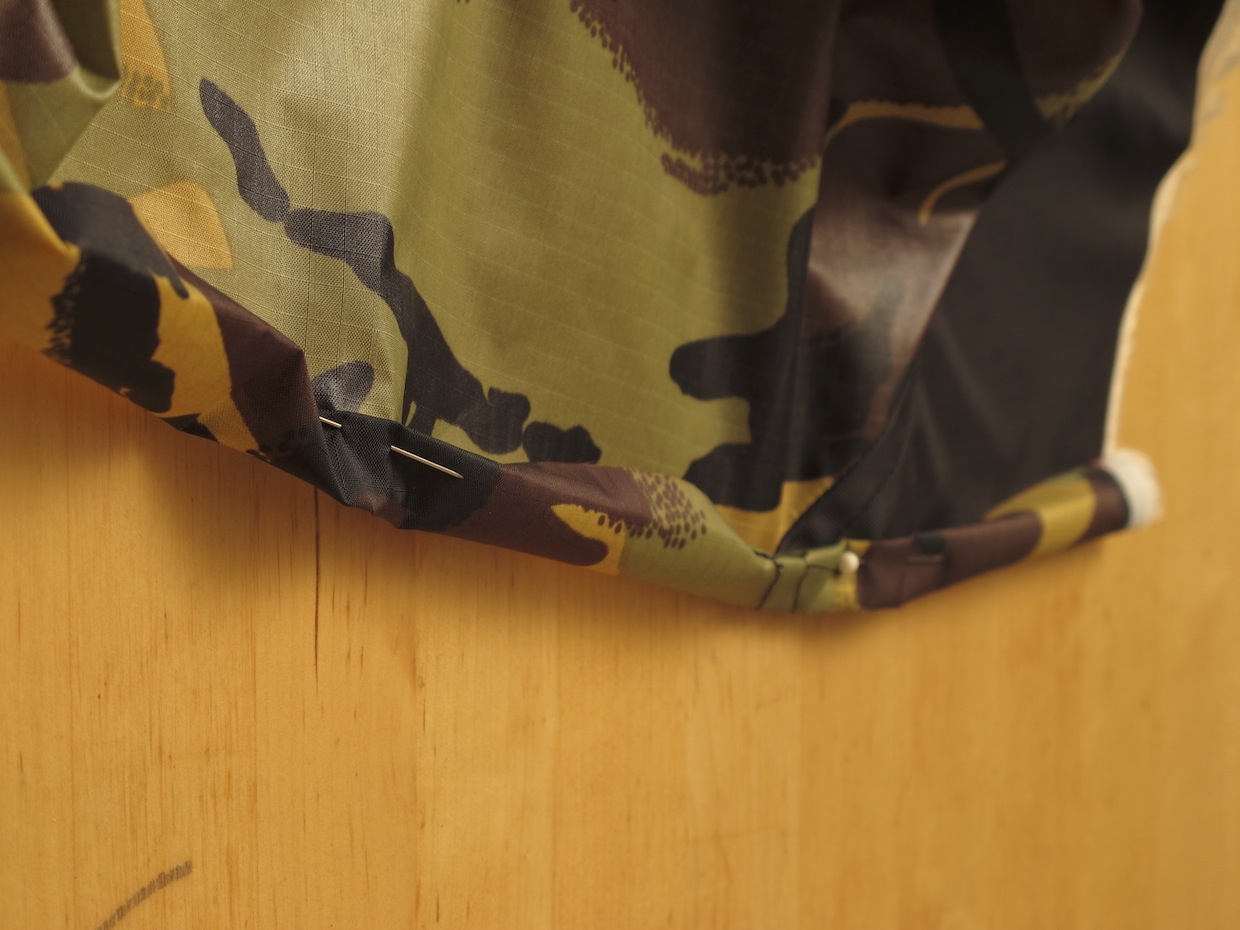
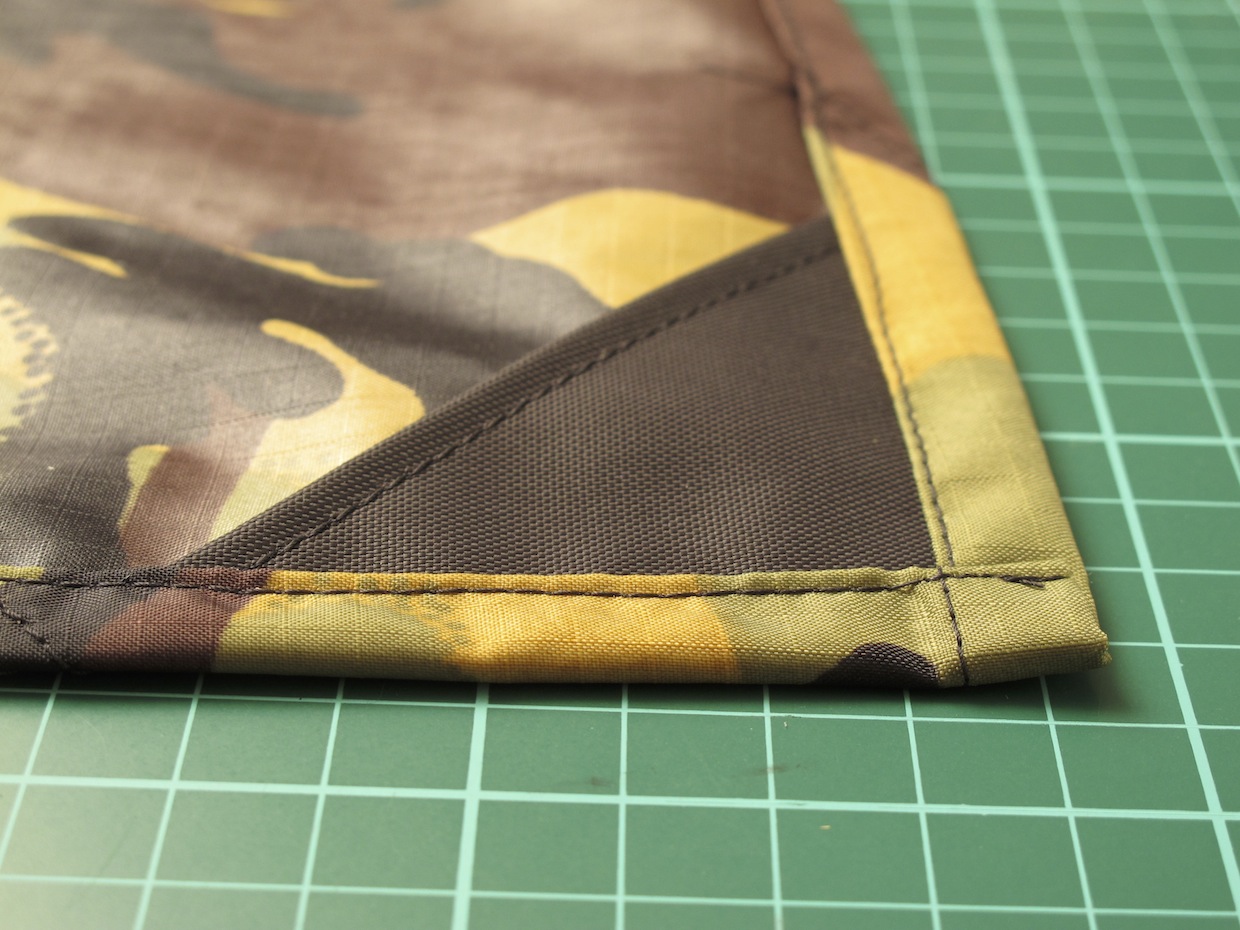
When you have all 8 reinforcement patches attached, you can enclose all the remaining raw edges by sewing a hem around the entire tarp. It’s well worth taking the time to pin the hem all the way round before you sew it.
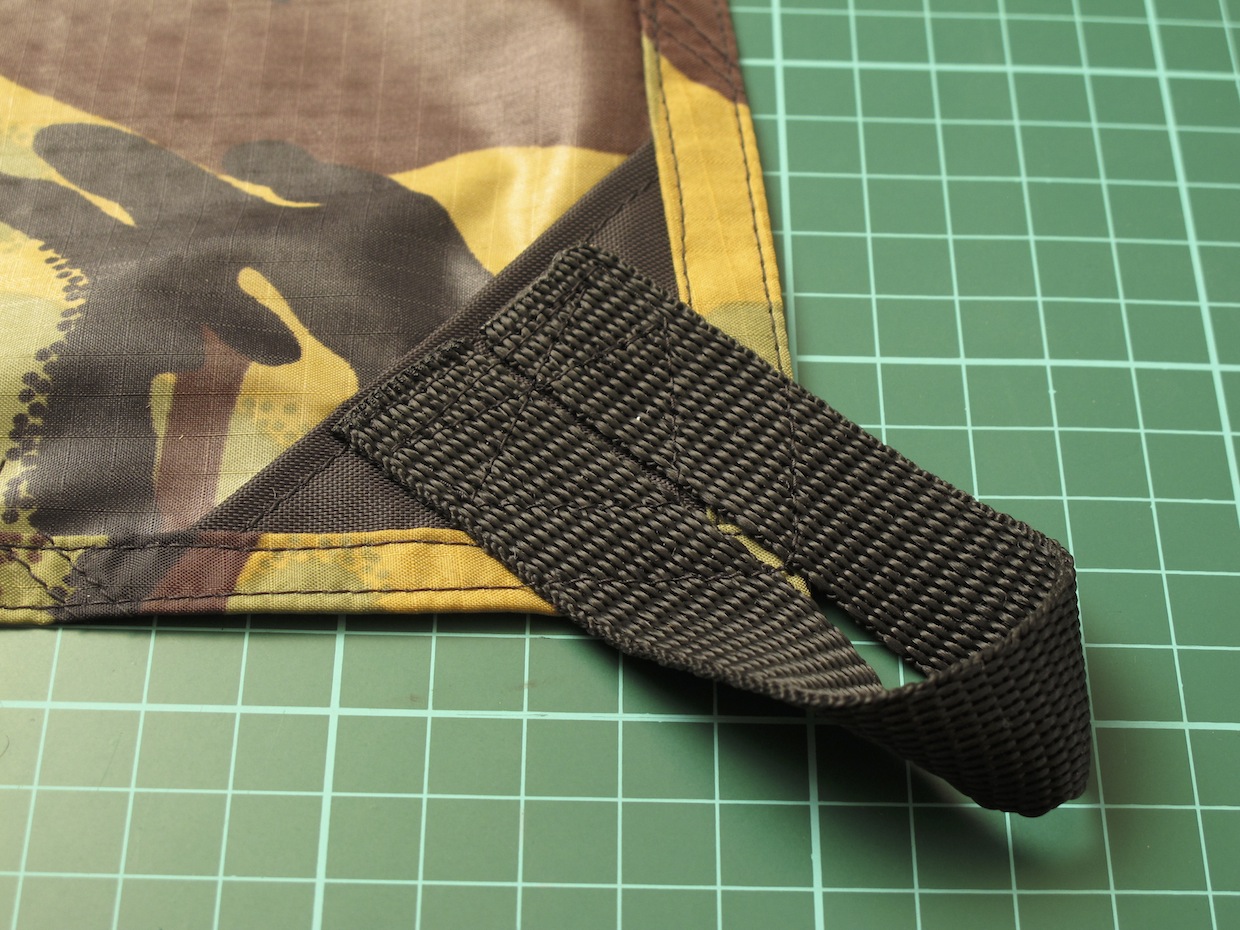
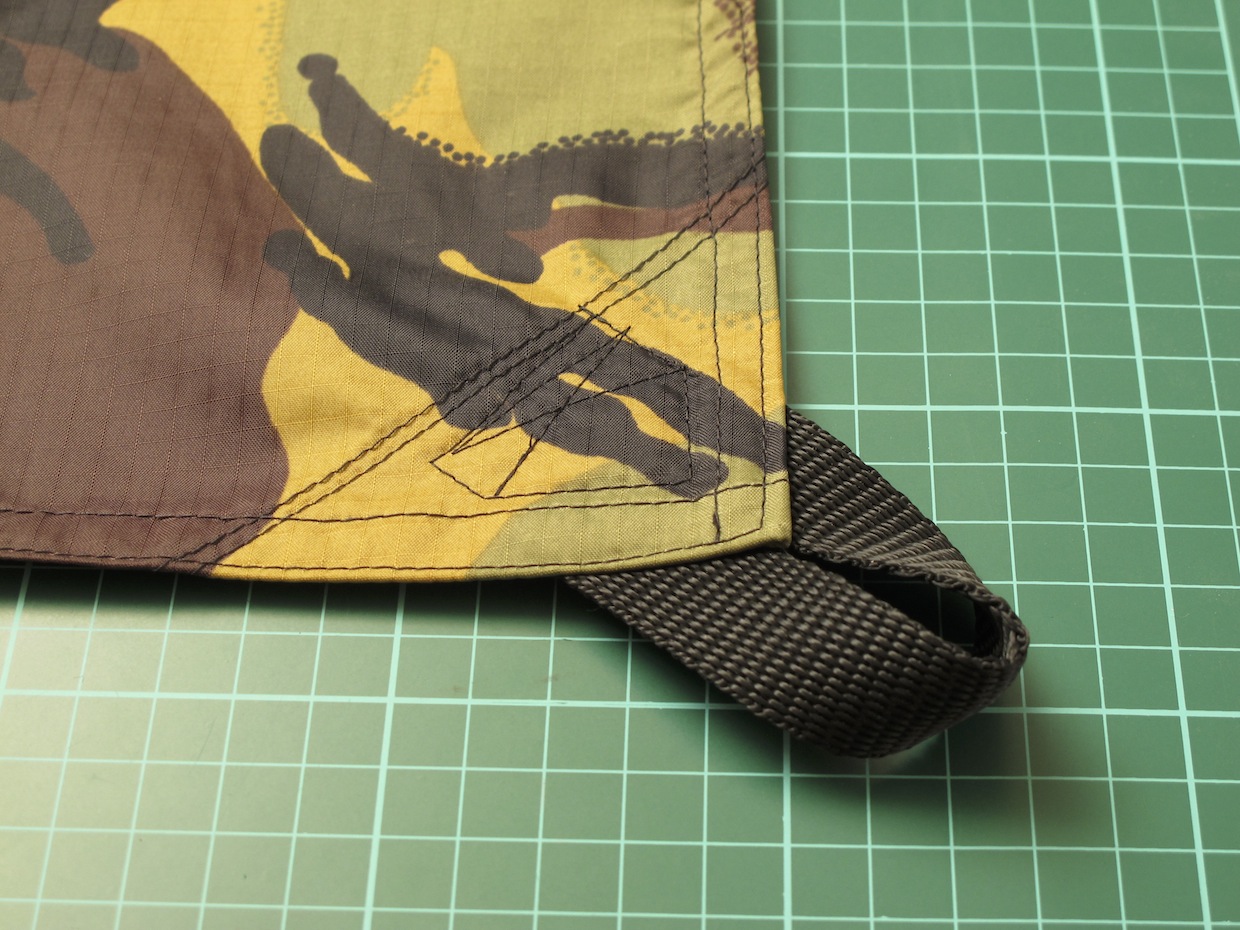
4. Attach the corner tie-outs
Cut your lengths of webbing and run a flame along the raw edges to stop them fraying. Then pin them on to the reinforcement patches. Sew them on with something approximating a box stitch.
5. Add the secondary tie-out points
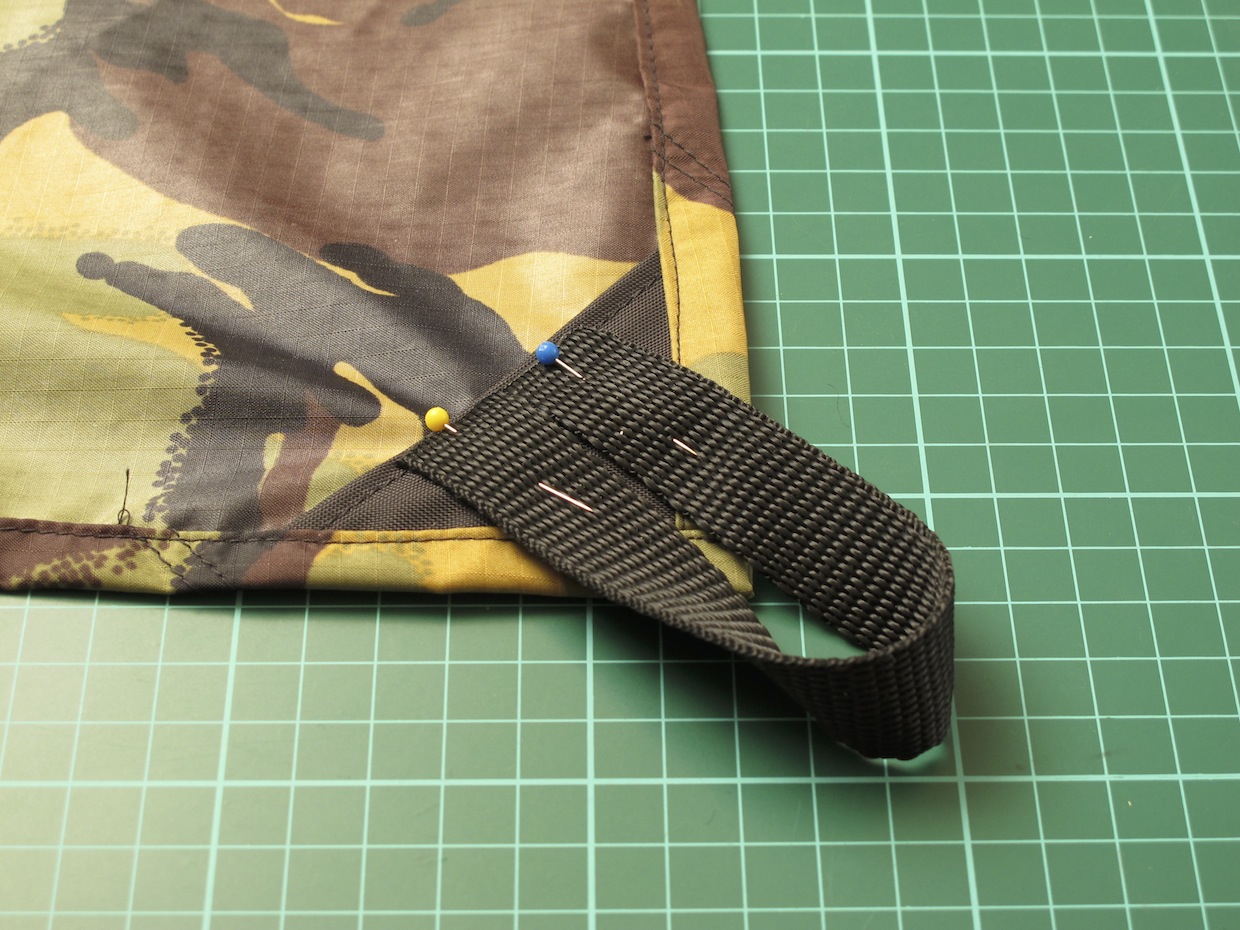
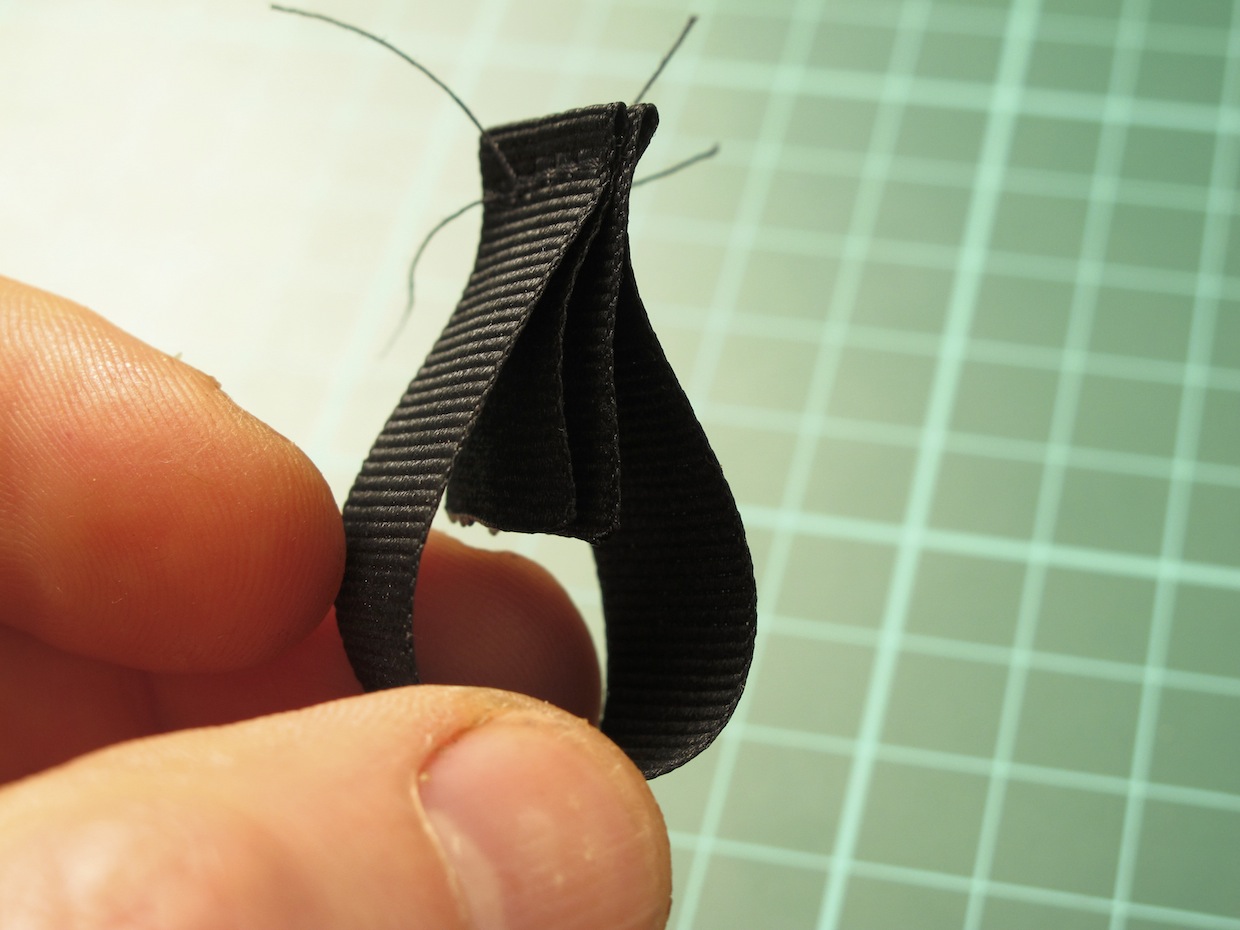
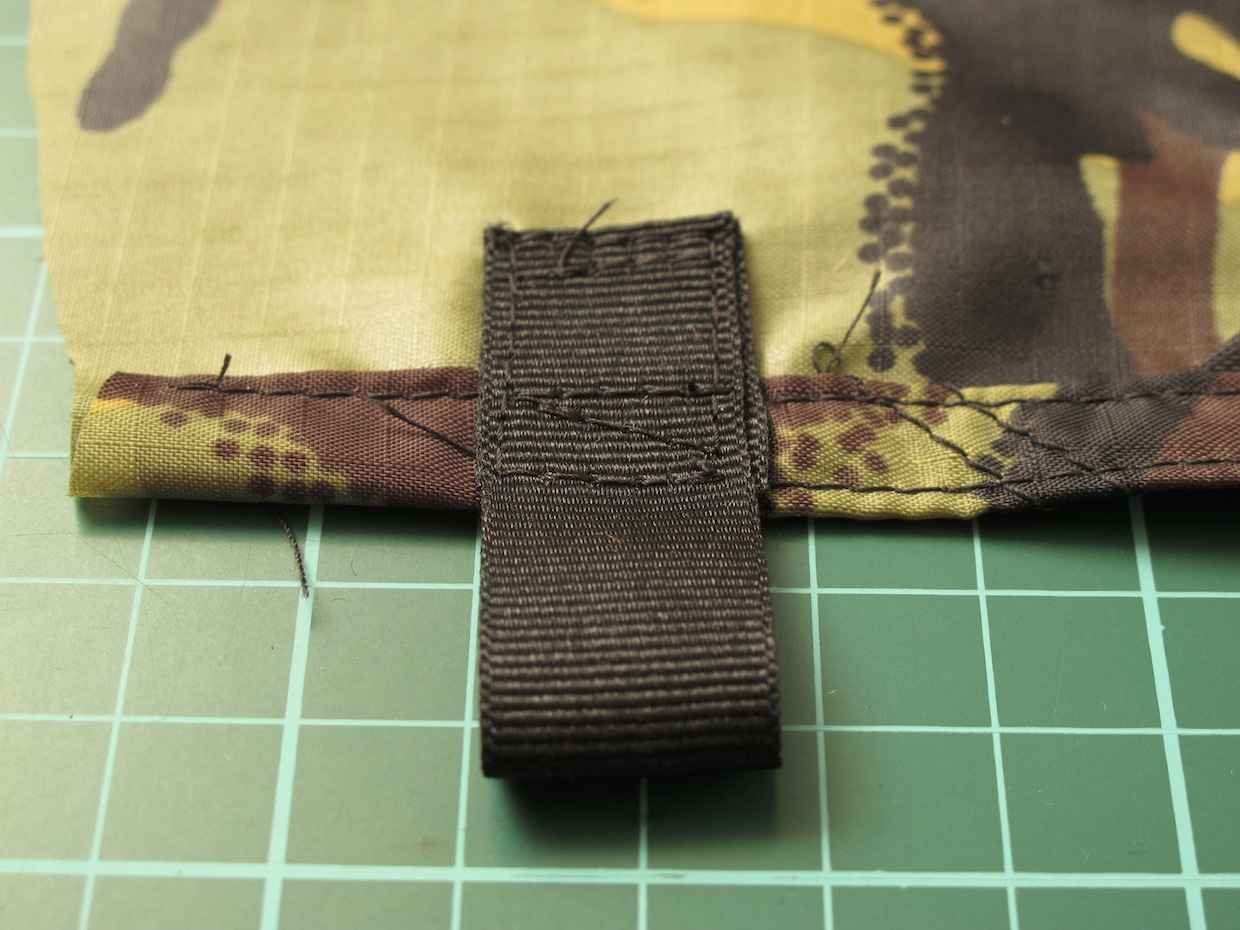
These are really just for convenience, and I figured webbing was overkill, so I just used ribbon. Start by making a loop of ribbon with the raw end enclosed. The sew them onto the edges of the tarp. I put 4 extra points on, 2 on each of the long sides of the tarp.
In use – and lessons learned
I’ve used this on a few overnighters in the South Downs, mostly in pretty good, calm weather. I’ve pitched it in a standard A-frame configuration (i.e. with a raised central ridge), with 2 people sleeping along the length of the ridge line, and as a straight sheet, sleeping with our heads sticking out from under the high edge so we can see the stars.
I’ve pitched it high – for maximum visibility and exposure to the elements – and with one edge pegged to the ground for a little more protection.

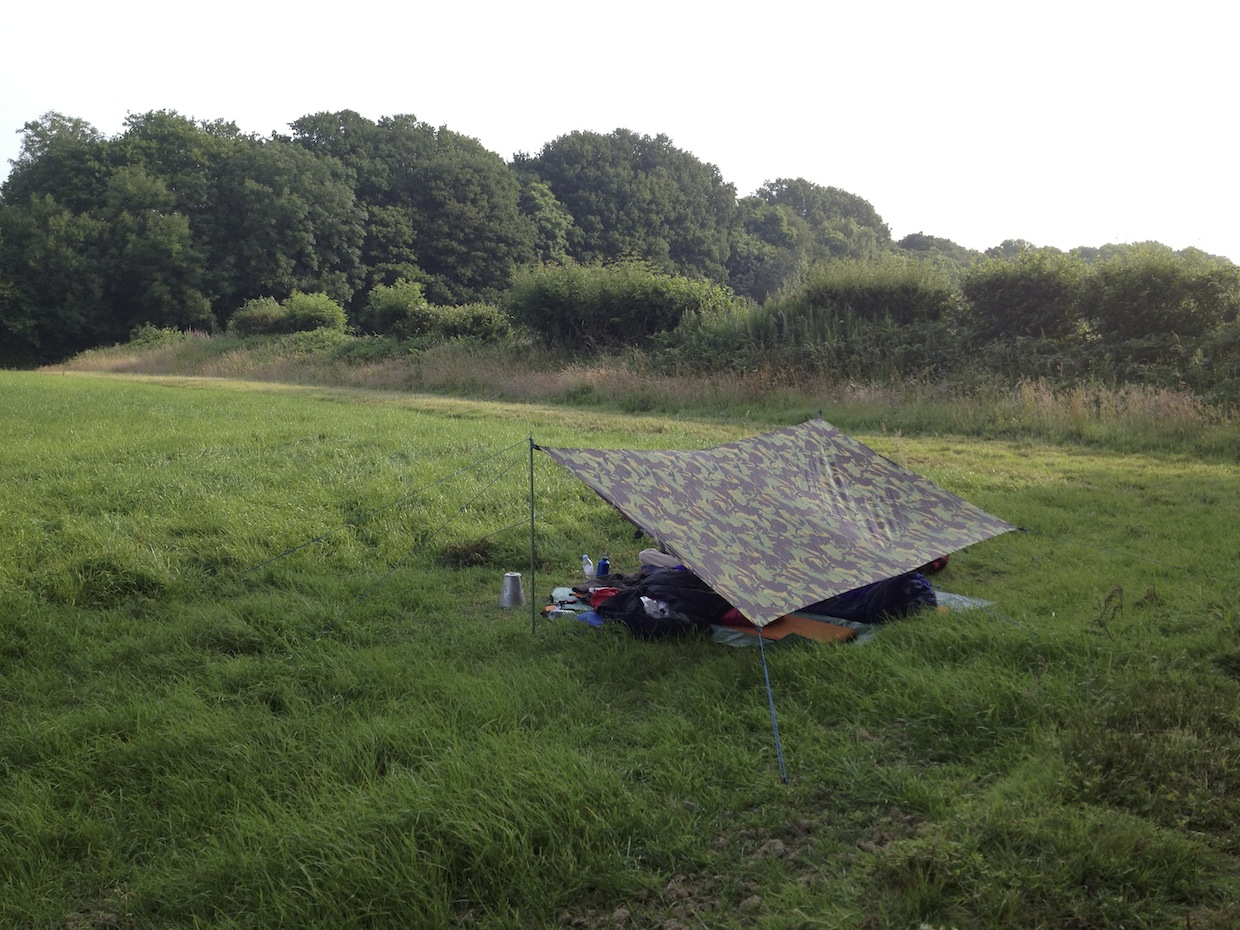
The reinforcements seem to work well so far, though I need a better system for attached it to poles, the current system is not very resilient.


It hasn’t failed yet, though it hasn’t been tested in very bad weather. It can be a bit flappy in the wind, this is exacerbated as the fabric stretches in the damp night air and loosens the guys. A quick run round tightening them up helps, but I think a better approach might be to use self-tightening guys (which have an elasticated section to keep the tarp taught as the fabric stretches).
In retrospect, webbing was probably overkill for the main tie out points, and I probably could have used ribbon for all of these. Webbing adds considerable to weight and bulk.
The 1.5m width works well from a construction point of view, and it’s fine for one person, or if you like to sleep perpendicular to the length of th tarp, with your head sticking out, but it’s a bit of a squeeze for 2 people sleeping along its length. In poor weather you need to allow for a fair bit of overhang (say 50cm) on each side to keep the rain off, which leads you towards a design that’s about 2 – 2.5m wide. Which means 2 widths of fabric.
But so far, I’ve been very happy with this compromise, and it sure beats sleeping in a tent.

Note: You can see hi-res versions of these photos on Flickr. There’s also a photo set of an earlier — and more complex — tarp design I tried.