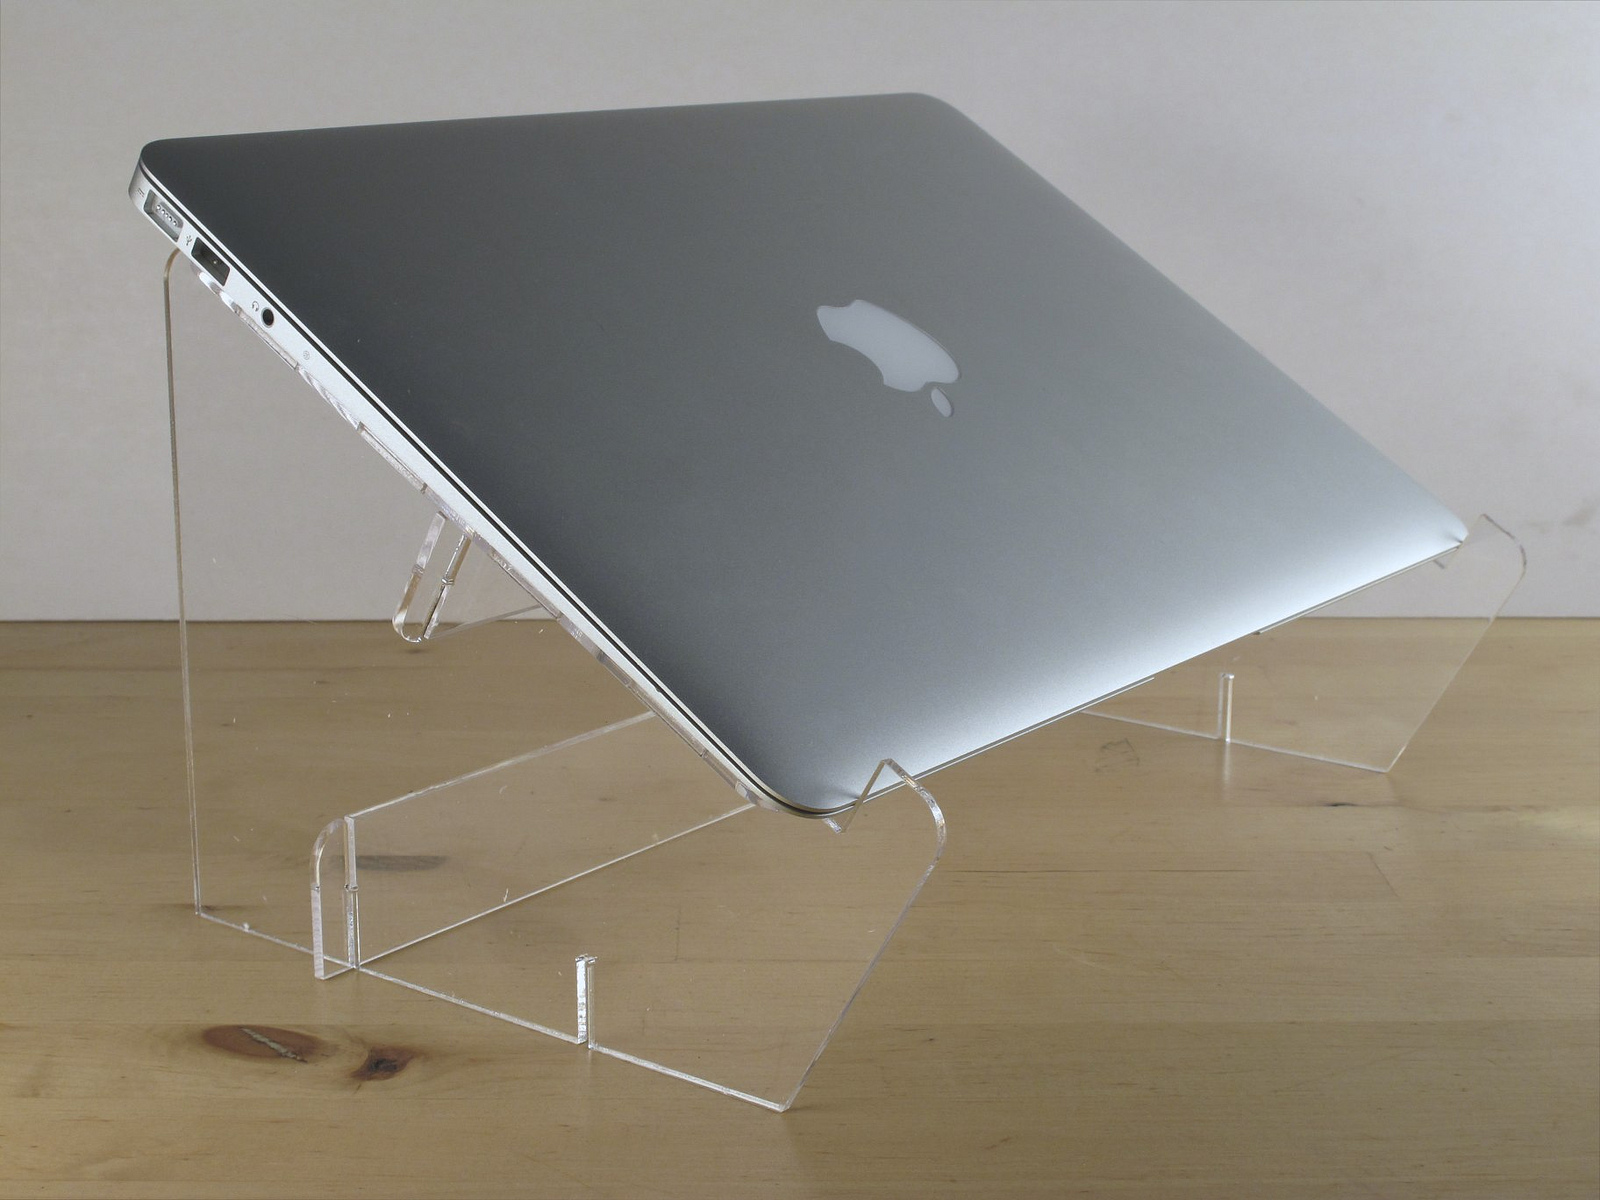
Open laptop stand
I’m running an experiment. Inspired by the open hardware movement, I decided to design a product, document the design process and parameters of the product, and share it, to encourage adaption and improvement by others.
I’ve blogged about it here, and I’m posting the files on Thingiverse for others to use.
Design considerations
I’m sharing my design requirements and constraints here as documentation. It may help you to know what has driven decisions in the design, so that if you have different objectives or constraints, you can more quickly see how to adapt it.
Basic metrics
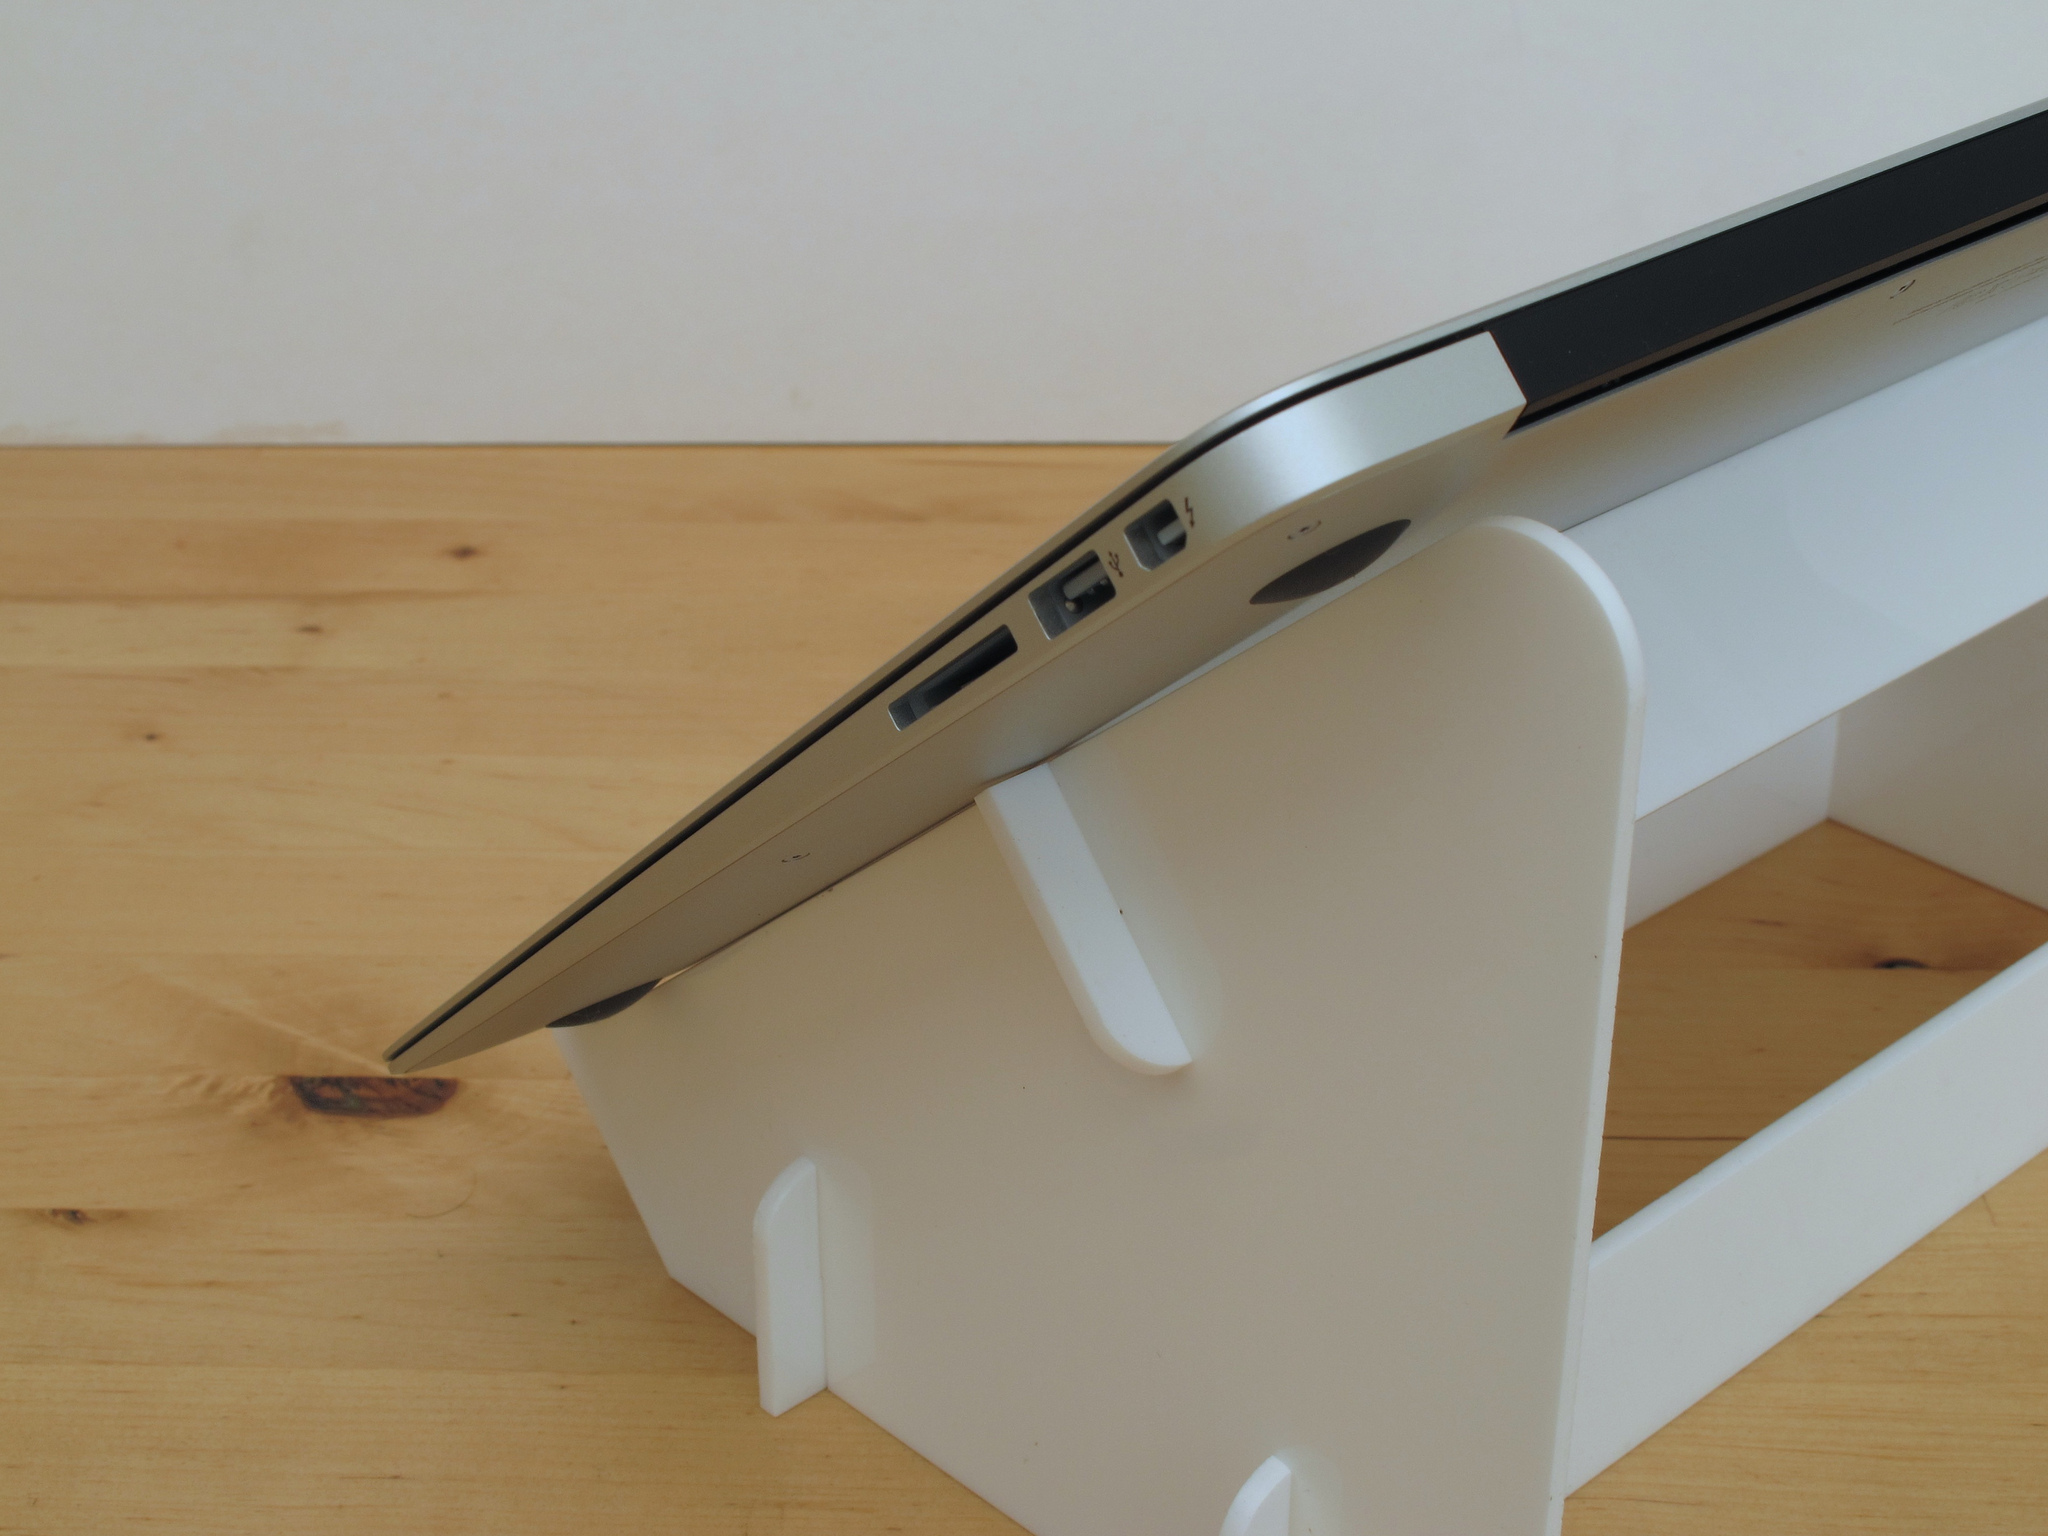
The stand is designed for a 13″ Macbook Air (32.5 cm wide x 22.7 cm deep). It’s pretty light (1.35 kg), so I don’t have to worry too much about weight-supporting strength.
The screen of the Macbook opens to approximately 135°. I’ve experimented with bases angled at 40°, but the current version (3.0) has a 30° base, which gives better stability and allows you to push the screen back to 15° behind vertical.
Ergonomically, the laptop should be positioned so the top of the screen is about level with your eyes. In my case, that means raising the screen about 20 cm off the desk. That makes for quite a tall stand, so in this design, I’ve settled for a rise of about 17 cm.
Usability and dynamics
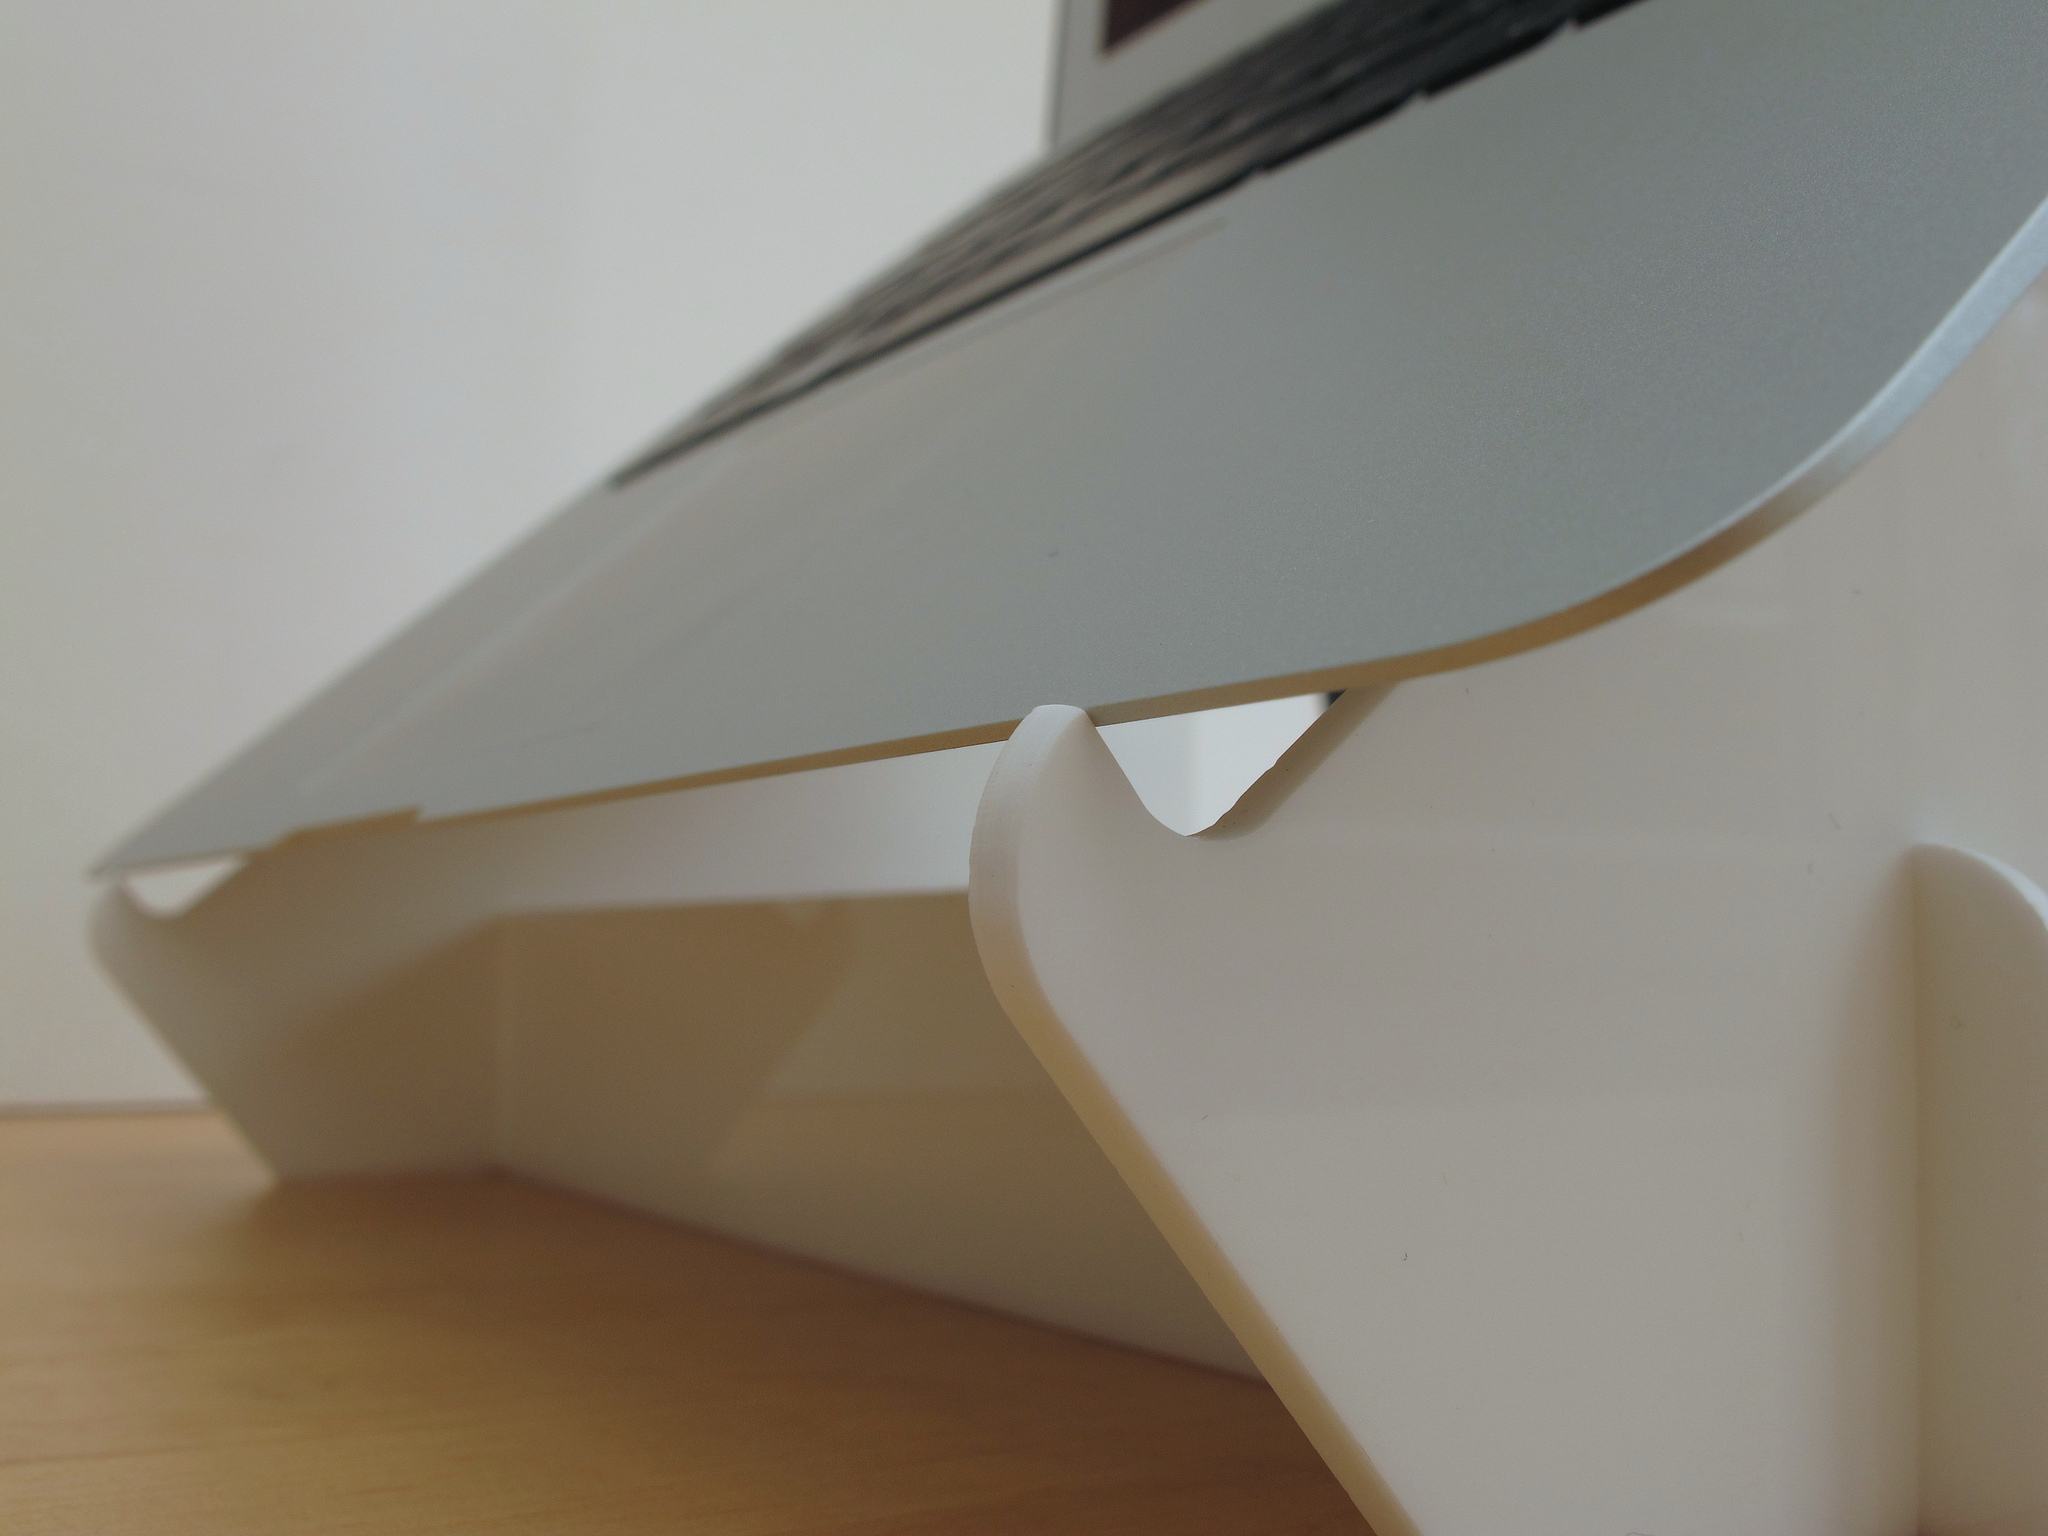
Cutout on top plate to allow you to easily grab the laptop
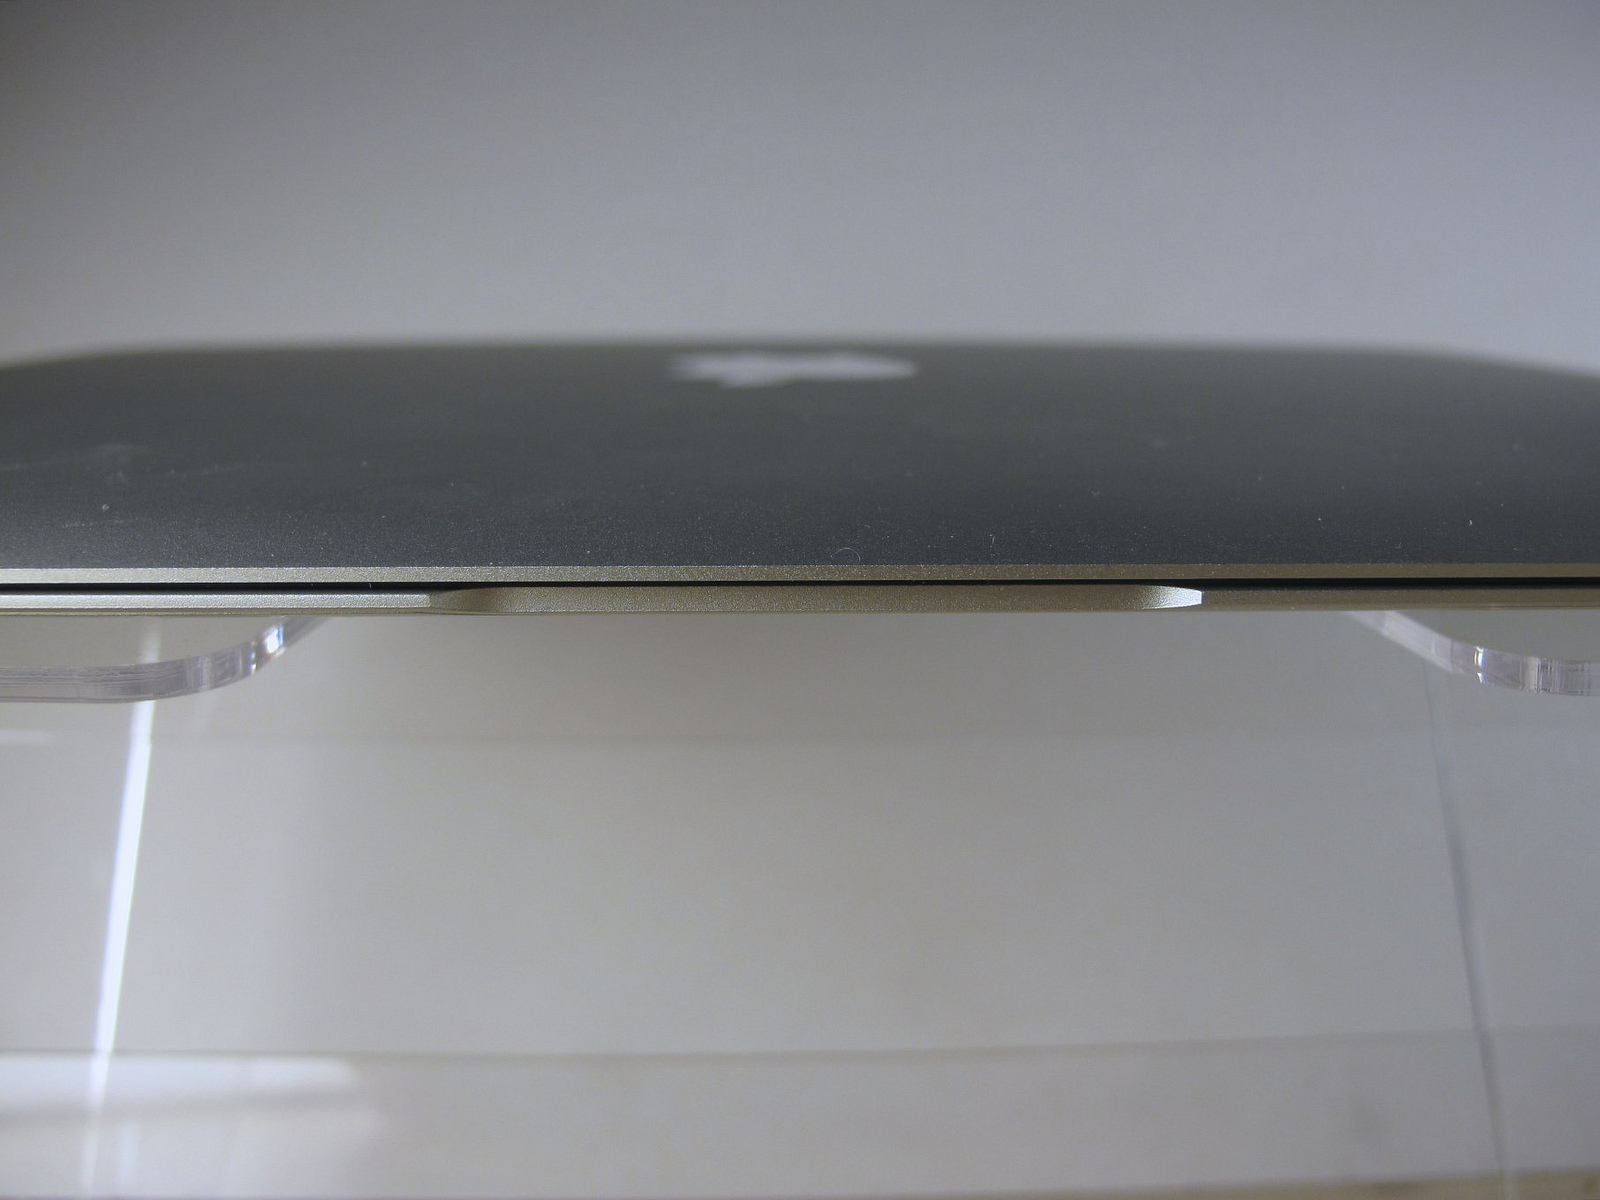
Just looking at this picture makes me nervous
When you’re using your computer normally, you don’t notice the stand. It comes to your attention most when you open, close or move the computer. This stand has been through several iterations to address these situations.
The hinge in the Macbook is carefully calibrated so that you can raise or reposition the screen with one finger, without the base lifting off the work surface. As much as possible, I want to enable this behaviour when the laptop is on the stand. That means not obstructing the finger notch at the front of the computer. It also means accounting for the different balancing characteristics when the laptop base is tilted. Earlier versions were tilted up at 40°, which reduces the downwards force on the base. It tended to lift up at the front when you opened the lid, risking the whole thing sliding off the stand. For the current version, I reduced the angle of the top plate from to 30°. While this results in a reduced height for the screen, it distributes the weight better, making the laptop more stable when opening.
I’ve also added a cutout on the front edge of the top plate so you can easily grab the laptop with one hand and lift it off the stand.
Materials
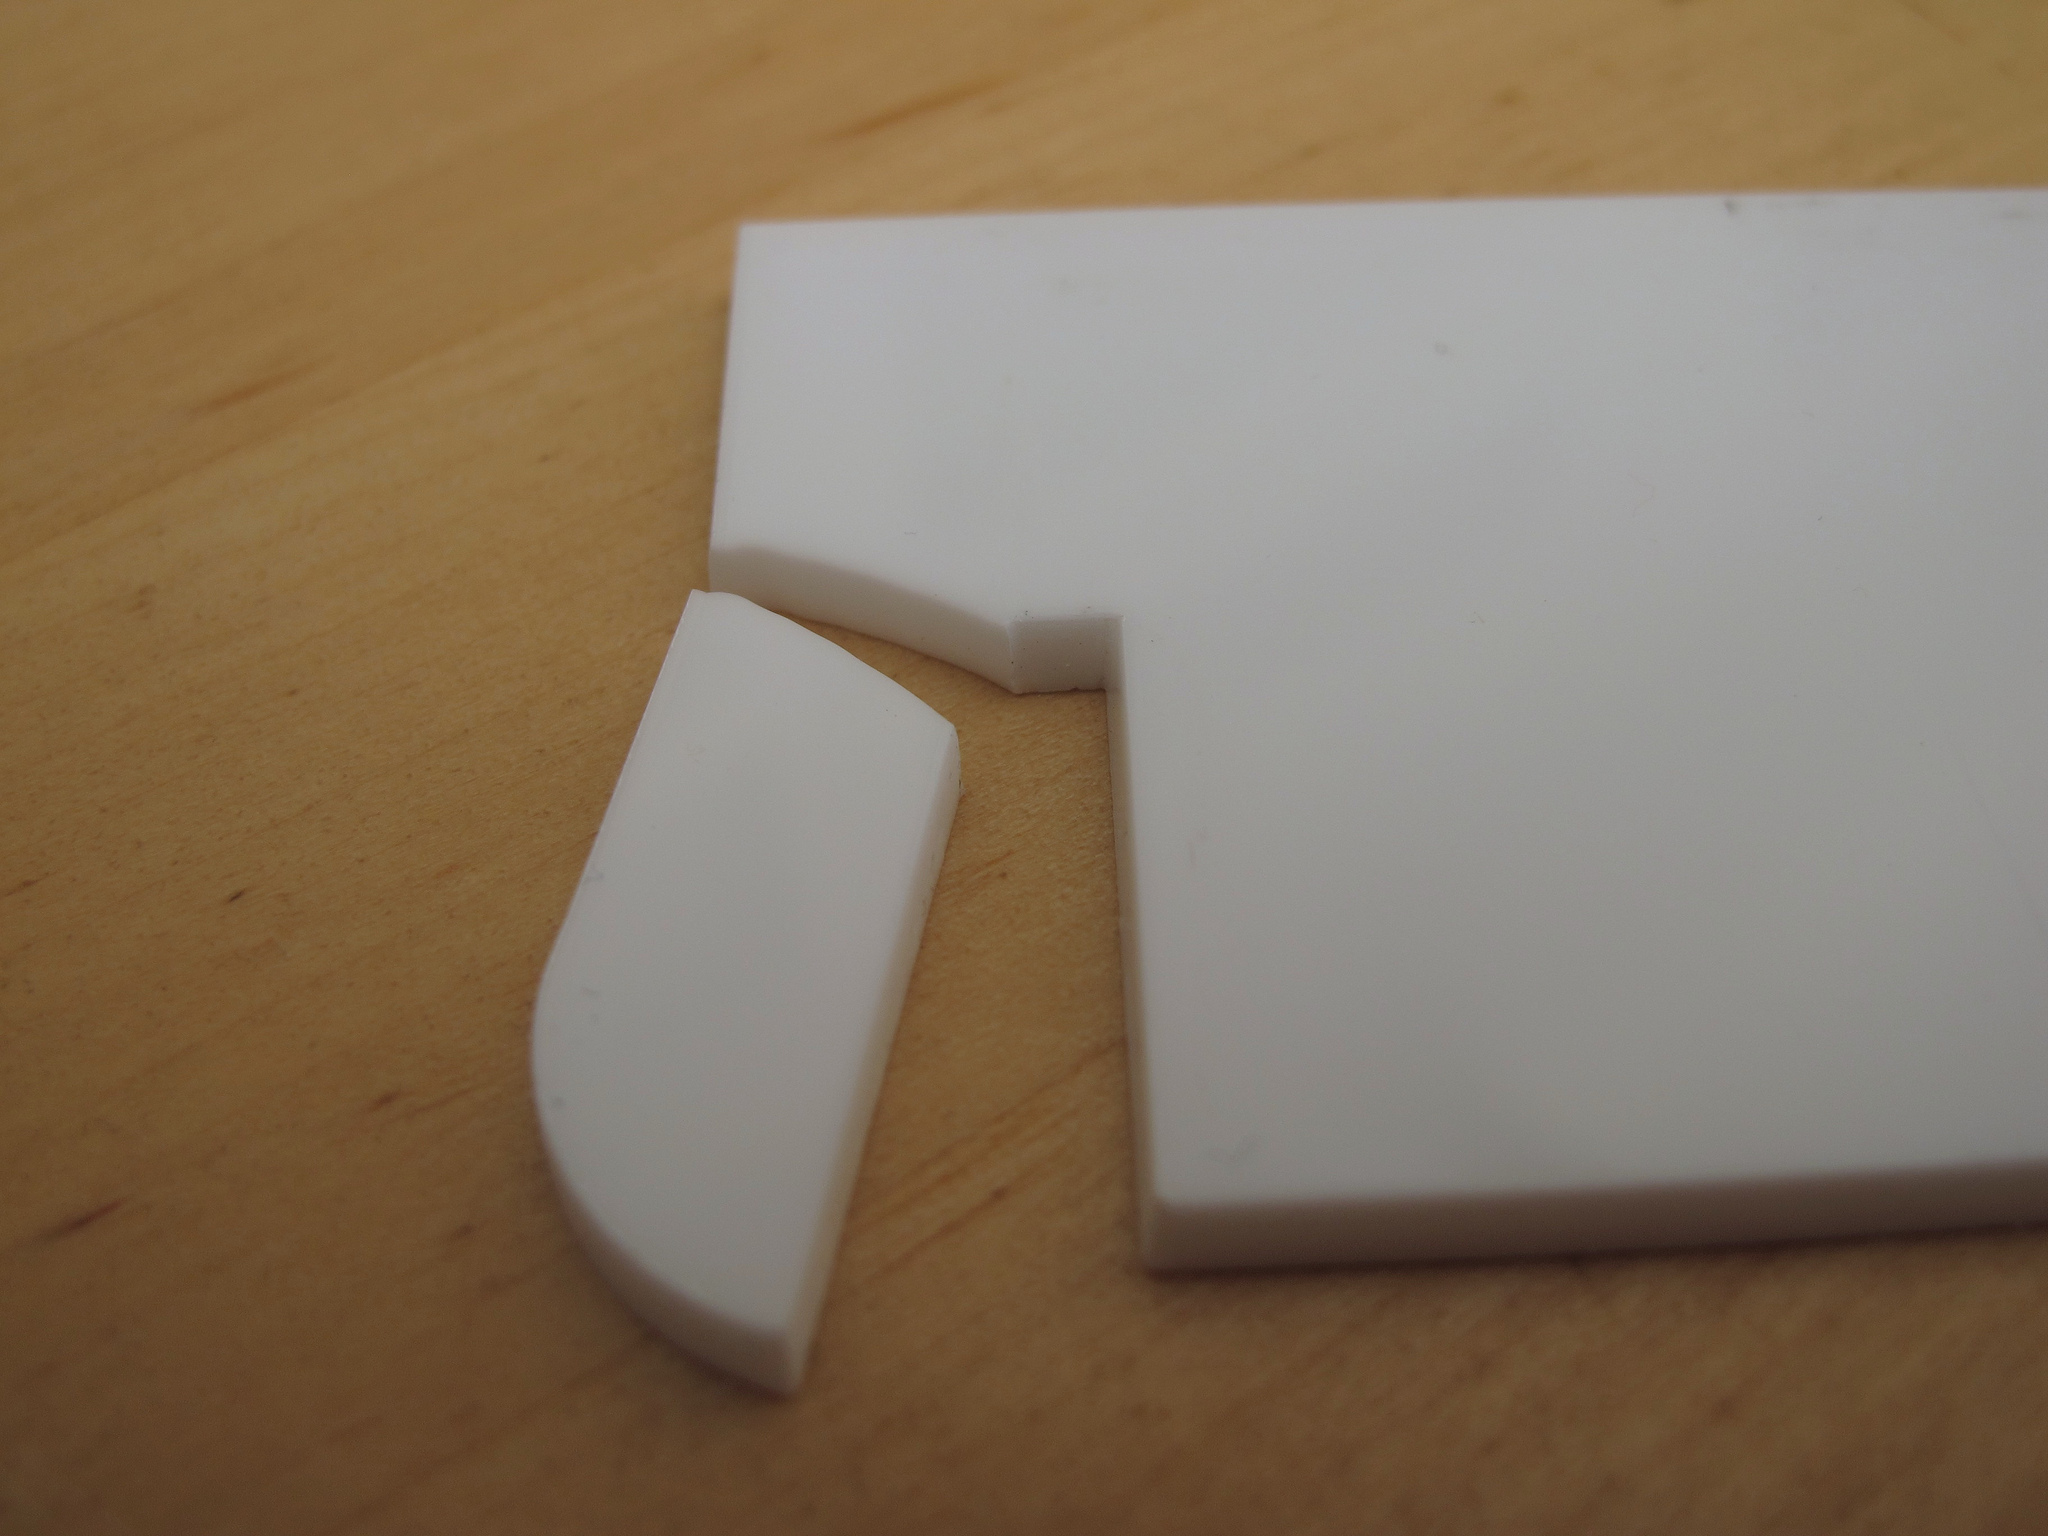
A snapped crossbar from an earlier acrylic stand
The design that I’m sharing here could be cut out of MDF or plywood, but not on our laser, which seems to burn wood rather than vaporise it. So for now, I’m using acrylic. Acrylic cuts cleanly, is readily available, and is affordable (about £3 for an A4 sheet of 3mm, clear acrylic, bought in bulk) so it’s not all bad.
But acrylic is quite brittle, and slot construction also introduces points of weakness into the design. The joins are subject to forces, especially when you’re assembling the piece, and the corners fracture easily. I’m now using the technique described on the Ponoko blog to try and dissipate these forces.
Constraints
3D products from 2D sheets: Laser cutters are great for sheet material. But to make a three dimensional product, you have to assemble the sheets in some way. This can work in your favour (I want to make one for a friend. This means I can flatpack it and send it to him in the post), but it also introduces weakness and complexity. For example, I can visualise a stand made out of one piece of bent acrylic sheet, that you could make quite easily if you had access to tools to form angles with some precision.
An earlier, narrow stand, cut from A4 sheets, that didn’t provide adequate support
Maximum sheet size: The Build Brighton laser is a Full Spectrum 40W CO2 Hobby Laser. It has a cutting table that measures about 22 cm x 31 cm. I believe you can work round this and cut bigger pieces (about 31 cm x 40 cm), but not without some hacking about with the machine, which is not mine to break.
So I need to be able to cut all of my pieces out of sheets no bigger than this, allowing for a safe margin on each side. Look at the dimensions of the Macbook, and you can see that it’s a pretty tight fit, and that led to some compromises in the design. After trying several unsuccessful designs based on A4 sheets, I eventually decided to get bigger sheets cut. If you’re ordering acrylic online, you can get it cut to pretty much whatever size you want, it doesn’t have to be A4. So I got sheets of the same size as the cutting bed.
Minimal material requirements: I want a design that requires no gluing and only uses one material. If you want to make this stand, you don’t have to go hunting for obscure materials, or buy special glues or tools that you’ll never use again. Three sheets of acrylic and you’re good to go.
Distribution
I’m posting the files, design documentation and photos for this stand on Thingiverse, which is where I went to look for other stand designs to adapt. What is Thingiverse?
Thingiverse is a place for you to share your digital designs with the world. We believe that just as computing shifted away from the mainframe into the personal computer that you use today, digital fabrication will share the same path. In fact, it is already happening: laser cutters, cnc machines, 3D printers, and even automated paper cutters are all getting cheaper by the day. These machines are useful for a huge variety of things, but you need to supply them with a digital design in order to get anything useful out of them. We’re hoping that together we can create a community of people who create and share designs freely, so that all can benefit from them.
Make one yourself
Hopefully this documentation helps explain why the stand is designed the way it is, and may help you to make your own modifications. You can download the files on Thingiverse and have a play. If you want to know why I’m interested in this, read my blog post. If you have thoughts about the stand or the experiment, I’d love to hear them. Thanks!