Pinhole Solar photography
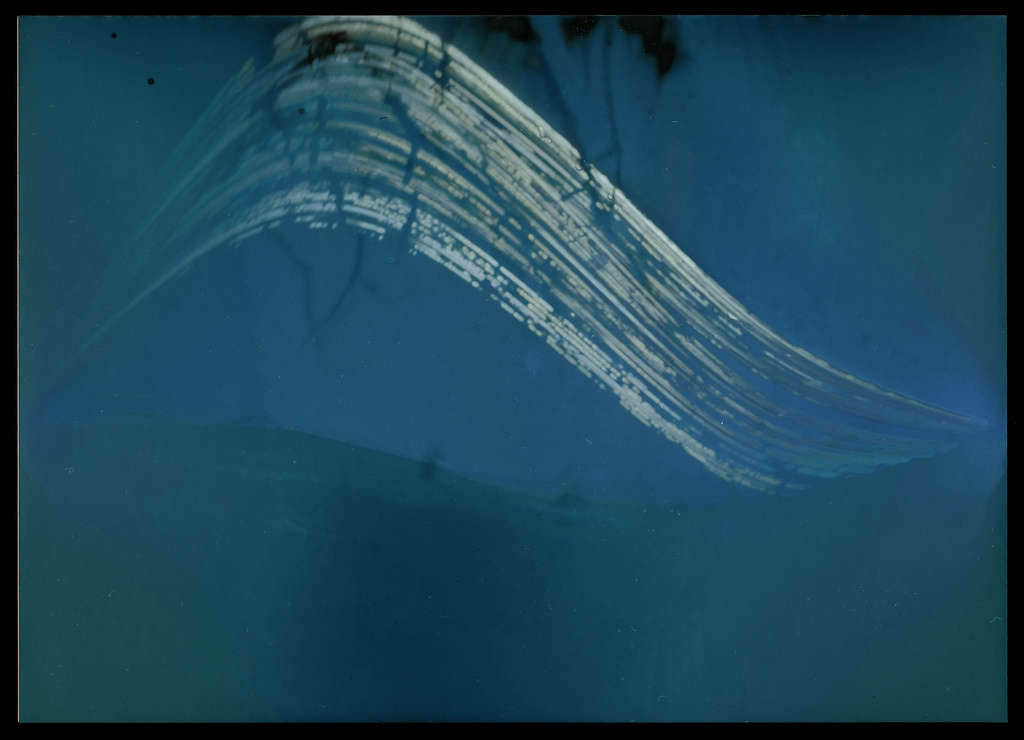
An experiment in extremely long exposure photography.
Back in March 2011, I went to Maker Faire UK in Newcastle, and learned how to make a pinhole camera. Here’s what I wrote about it at the time:
Justin Quinnell gave an intriguing talk about pinhole photography and the beer can cameras he uses to take ultra-long exposures (i.e. six months) that track the movement of the sun across the sky. We made our own cameras on his stall and we’re now plotting where to place them for the next six months. He also introduced us to Tarja Trygg, whose Solargraphy project aims to ‘create pinhole solargraphs all over the world and build a World Map of Solargraphs’
Well, we took the cameras home, and I must confess, they sat on the kitchen work surface for several months before we got around to putting them up.
Siting the cameras
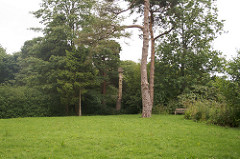
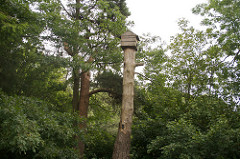
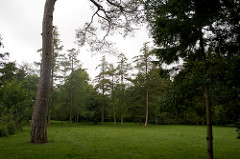
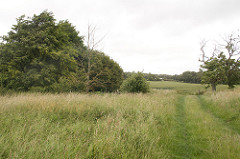
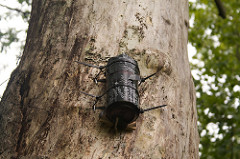
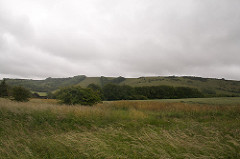
It wasn’t until the summer solstice that we got around to siting the cameras. We chose two locations near where we live, just north of the South Downs. One looking out over some trees in a south westerly orientation, the other facing south with a clear view of the Downs.
Siting of the first camera:
|
|
|
Siting of the second camera (and close up of the attachment):
|
|
|
See the full Flickr set for more explanation
Waiting
Three months passed. Periodically, we’d go out to check the cameras. But mostly we forgot about them.
I’d set myself a reminder to take them down at the autumn equinox, so that we would capture a quarter of the solar year — the period where the days are the longest and gradually shorten until they are of equal length to the nights. We could have left them up for another 3 months, though that would have doubled the risk of something catastrophic happening to the cameras. Angry squirrels, an inquisitive rambler, poor weather…
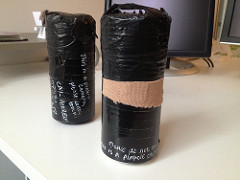 {.tt-flickr.tt-flickr-Small} They then sat around for another month while we tried to find someone with a scanner to process the paper. The beauty of the design is that it uses regular photographic paper. The image is ‘developed’ in the light of the scanner, without the need for a dark room and all that stuff. But finding a flatbed scanner — and someone who is competent to use it — is not that easy. You only get one attempt, maybe two, before the image is over-exposed. The final output is the digital file; the photographic paper is a waste product once it’s been scanned.
Fortunately, Dan Skrobak put me in touch with Kevin Beck of Photo Book Show, who kindly agreed to scan the photos for me. I had no idea how they would turn out; for all I knew, the cans might have leaked and the photo paper just been a mouldy mess in the bottom. So I was very excited to see the scanned results. And delighted when they turned out as well as they did.
Results
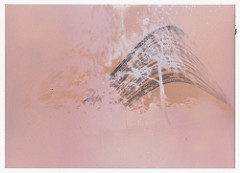
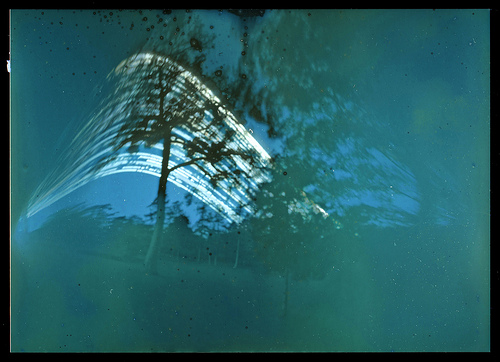
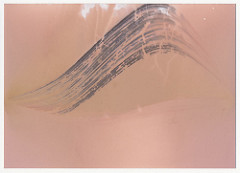
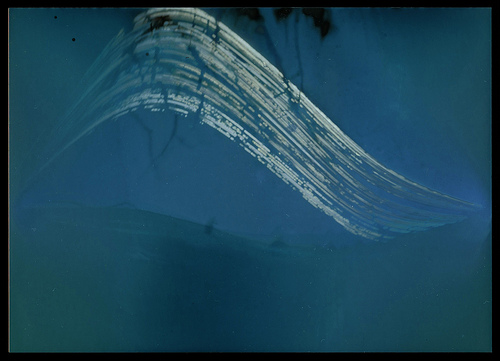
If it wasn’t clear before, it should be now, why this is called ‘solargraphy’. The sinusoidal white streaks across the background of the image mark the traverse of the sun across the sky over the 3 month period. Each streak shows the changing position of the sun in the sky, lowering every day as we approach the autumn equinox. Gaps in each streak show where cloud has obscured the sun. You can pinpoint any time in any day in the last three months at a specific place on the print.
The images reveal something we all witness, but only notice occasionally. We’re surprised one day coming home from work at that its’s suddenly dark; we go for a walk and squint because the sun is low in the sky, in our eyes. But the incremental change, day after day, passes us by.
On the left, the raw scan. On the right, the flipped, inverted and adjusted image from the first camera, sited in the arboretum
|
|
The raw scan and corrected file from the second camera, facing the South Downs
|
|
Try it yourself
I hope that this little write-up has inspired you to go and do this yourself. It’s very easy and requires no special equipment. The images are unlike anything you can capture by other means, even the act of waiting for 3 or 6 months adds an unusual experience to the process.
A good place to start would be Justin Quinnell’s solargraph instructions. Let me know how it goes!